RV Tank Vents
Vent covers that suck odors out and away from your RV
One of the big problems traveling in an RV is odors that come out of the waste tanks while driving. Standard RV tank vents do nothing but cover your vents. As you drive pressure is created at the rooftop tank vents and this pressure pushes odors into the RV. In a trailer this is not as big a problem as it is in a motorhome. At least in a trailer you never smell it until you stop. In a motorhome you can smell a terrible sewer smell as you drive down the road.
In the past we kept out bathroom door closed to keep the odor in the back of the coach. I have read about special vent covers you put on the top of the tank vents that act as venturis and suck air up out of the tanks instead of pushing air down into the tanks.
In RV.net I read that some people created their own venturi vents by putting 1 1/2 inch PVC pipe T's in place of of stock black and gray tank vent covers. I thought this was worth a try. PVC T's are inexpensive compared to the commercial products. I am always ready to save a dollar or two.
If you are not into making things, similar vents are available online. Click on the picture or link below to see the commercial version of our T vent

RV 360 Sanitation Vent
The first vent I tackled was the gray water tank vent. I pulled the old cap off and discovered that the T would fit into the spot the cap was in. There was a groove that was just the right size. I put some clear silicone glue into the groove and pushed the T down into the groove. One T was easily installed.
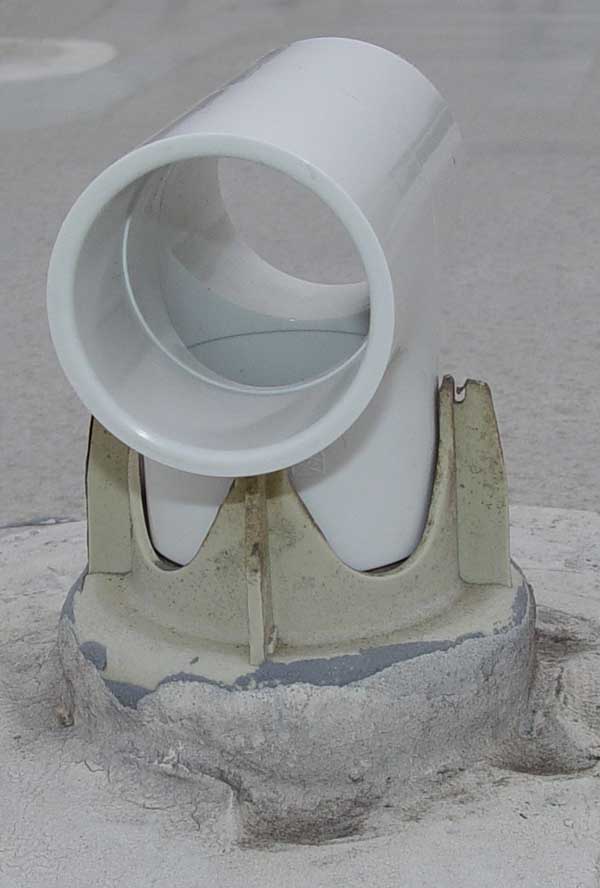
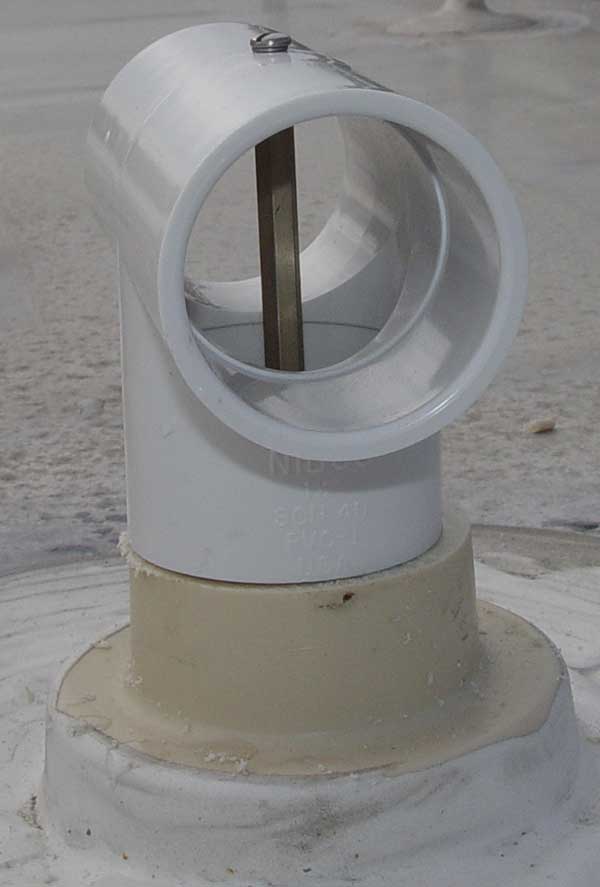
It is hard to tell in the pictures, but the T vents are installed so the openings are toward the front and rear of the RV. As you drive the air comes straight through the T, again front to rear.
Click any picture below to see it full size
Old gray tank vent cap. New T vent installed with silicone seal.

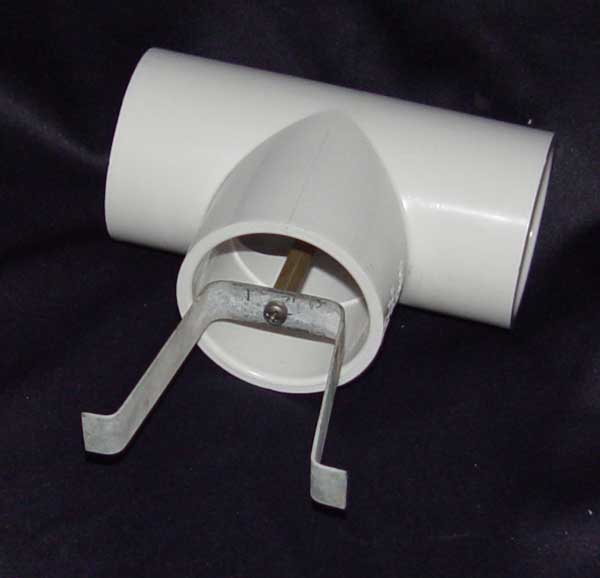
I pulled the cap off of the black tank vent and it was different. There was no easy way to install the new T vent. I looked at the old cap and thought it should be easy enough to use the pressure fit "spring" from the old cap in the T. The pictures below show you what I did to install this "spring" into the T and come up with my own custom fit venturi.
Old vent cap, PVC T, thread rod (stand off) screws and lock washers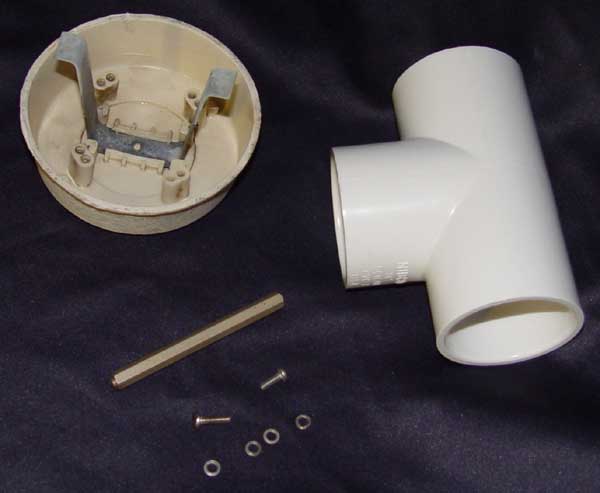
First I drilled hole the size of the screw I was going to use in to top of the T.
Drill a hole just slightly larger than the screw you will use.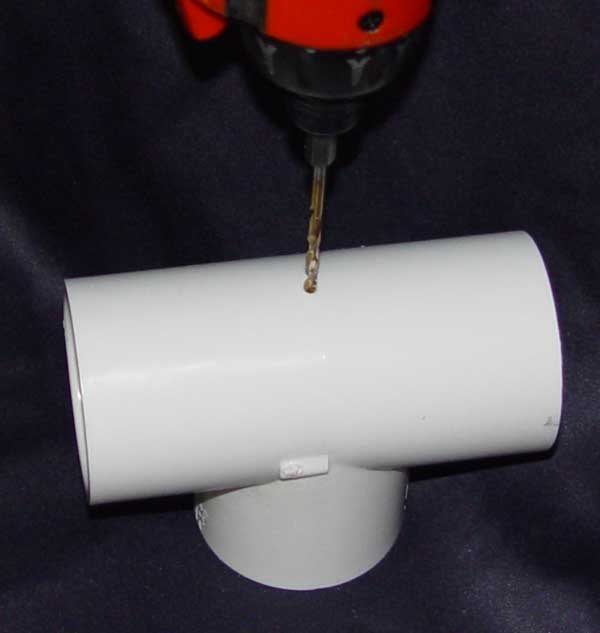
Next I used a stand off that is threaded on both ends. The stand off is simply a rod with threaded holes on each end. I used this because I had it. You could use a long screw and more nuts and do the same job. I screwed the stand off inside the T.
If you used a long screw you would put the screw through the top hole and tighten it in place with a nut and lock washer.
I broke apart the old vent cap to get the metal "spring" out of it. It already had a hole in it, so I just screwed it to the other end of the stand off I used.
If you used a long screw you would screw on one nut as a stopper then put on the "spring". Put on a lock washer and add another nut to tighter the spring in place.
Old vent "spring" and "spring" installed in T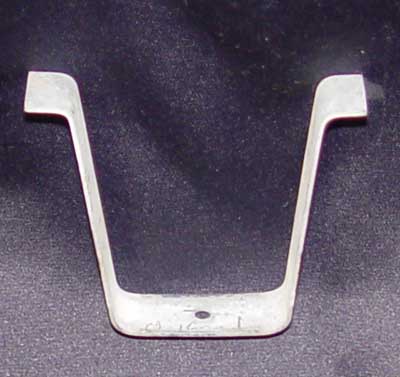
Once assembled, I went back up on the motorhome roof and installed the new "T vent" by simply pushing is down into the vent pipe the same as your would a standard vent cover.
Vent T easily pushed into vent pipe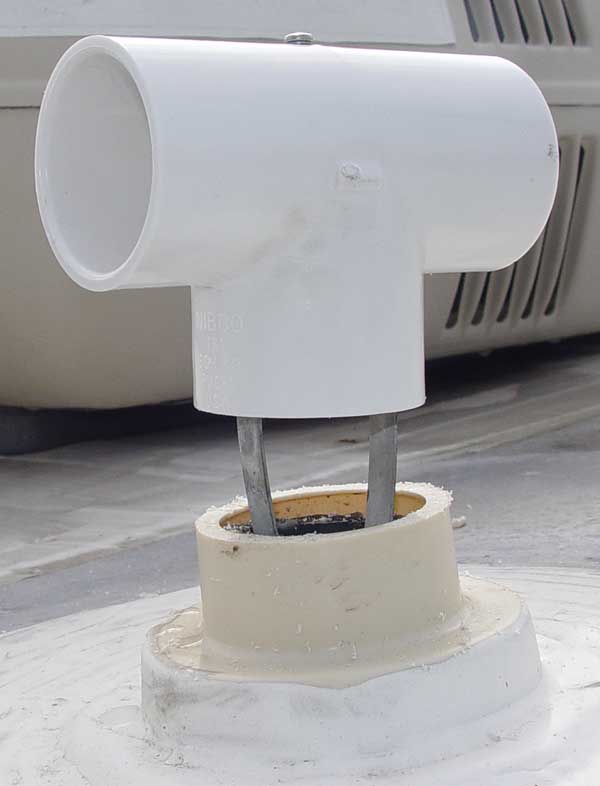

Luckily we were planning an RV trip when I decided to do this quick and easy project. I did the total job in less than an hour's time. This article is taking longer to write than the T vent installation took.
As they say, "The proof is in the pudding". Our trip was a 200 mile drive to an RV rally at Lake San Antonio, California. At our first rest stop, I opened the door into the bathroom and NO ODOR! I was thrilled. This was fantastic. We always had odors in the past. The whole trip up and back was the same story. We did not have a single odor inside the coach. The T vents worked perfectly.
