Leaking RV windows can become costly repair jobs.
Caulking your leaking RV windows is a fairly easy job.
How To Repair Or Prevent Leaks In RV Windows
Leaking RV Windows
Caulking RV Windows
A Do It Yourself Guide To Repairing Leaking RV Windows
Every Time It Rains, Check For Leaking RV Windows
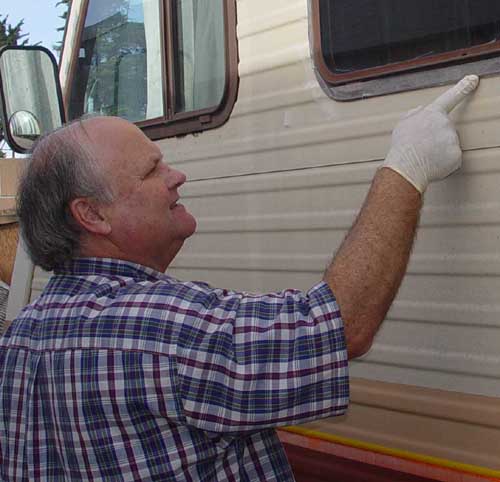
Every time you wash your RV or every time it rains, do an inspection for leaks in your windows. RV window leaks can lead to big trouble. At the same time check to see if your RV window gutter's drains are clogged. The drain holes are on the outside do the window along the bottom edge of the trim or molding that holds the window in.
If you let leaks go and just mop up the water, the water will get into the walls and get them wet. Wet wood leads to dry rot and mold. Dry rot means entire sections of wall may need to be replaced. Water behind the walls can lead to delamination. Delamination is the outside fiberglass walls of your RV separating from the inside wall. Delamination appears as bubble or ripples seen along the "wall" of your RV's exterior. A small leak over time can lead to severe damage. Caulking RV windows is a fairly fast and easy job you can do to prevent this damage.
Click any picture below to see it full size
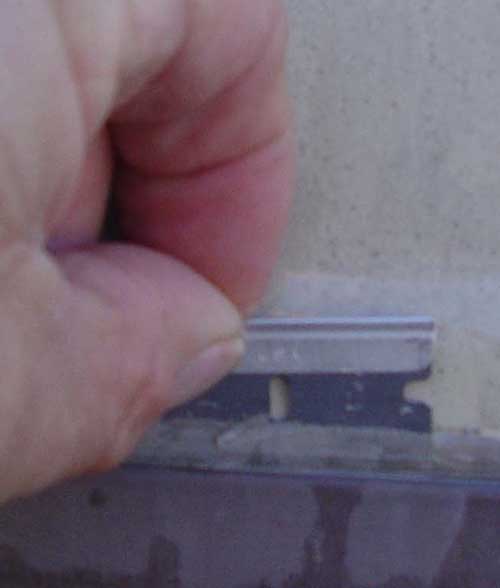
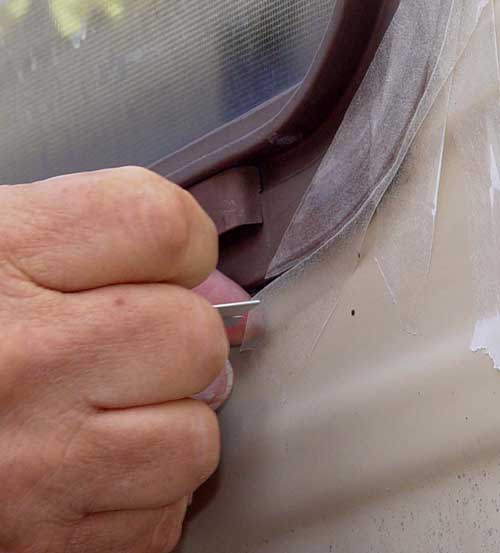
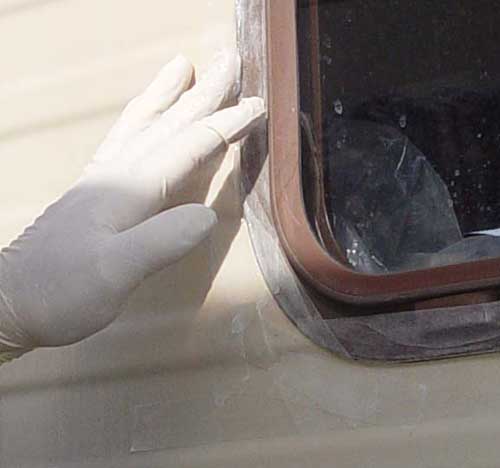
Let us get started. You can see the big space between the old silicone caulk and the window frame. I used a razor blade to get behind it and then along the top edge of the window frame. Once cut mostly loose, I was able to peel the old silicone caulking away in strips

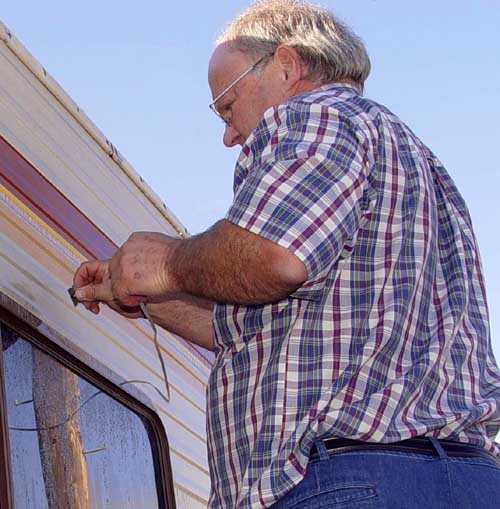
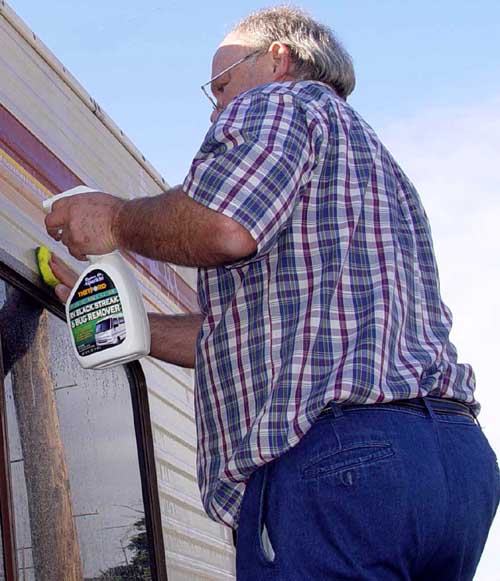
When you find that you have leaking RV windows, pick the worst one and clean all around the outside of window frame with your favorite cleaner. You want a good clean surface for the window caulk to stick to. I used a kitchen sponge with green scrubber surface on one side. That may be too abrasive for you. The important thing is to have a clean surface before caulking your RV windows.
In these pictures you see the old tar based caulking that has oozed out from under the edge of the window frame. I carefully cut this away. This is the caulking I used rubbing alcohol to do the final cleanup
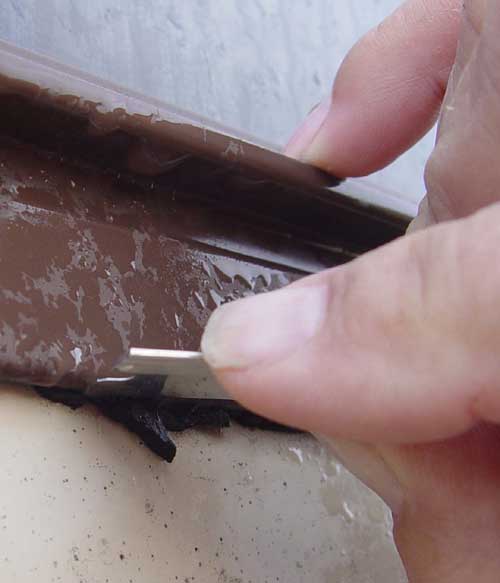
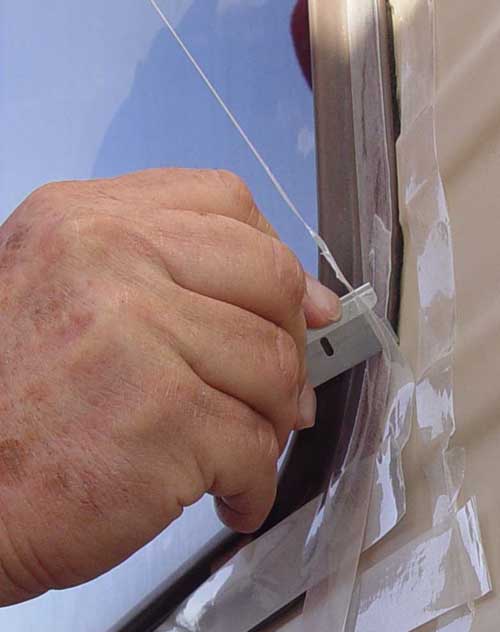
The next step is to clean out some of the old caulking material. You probably could caulk over it, but why not do the best job possible without removing the window frame (no way am I going that far). I used a razor blade to cut out old caulking. When it felt dull I would use a new blade. I was not trying to get all the old caulking material out, just some at the edges and any that extended beyond the edges and was in plain site. Use care you do not want to slice the fiberglass siding or cut marks into the paint. Plus, take it slow so you do not cut yourself.
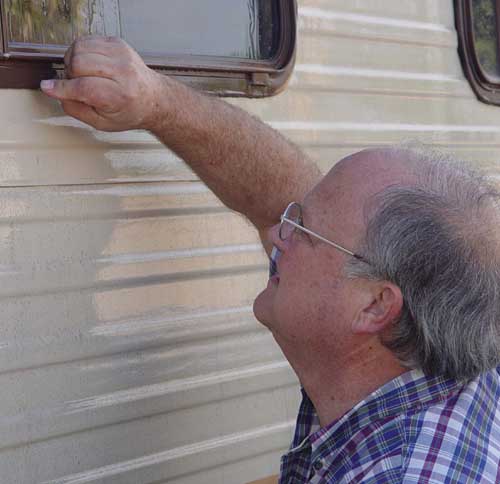
I had some black streak remover, so I used what I had on hand for cleaning. You could use any quality cleaner to clean the area to be caulked
I used bathroom rubbing alcohol as a cleaner. It dissolved some of the old tar based caulk that was used on my motorhome. When the area was clean, the old caulking removed, I was ready to mask off the area for applying the caulking material.
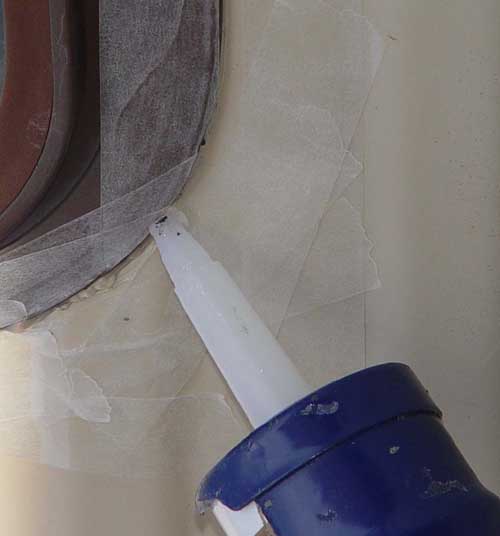
Taping went fairly fast. I left about a 1/8 inch gap from the tape to the window frame.

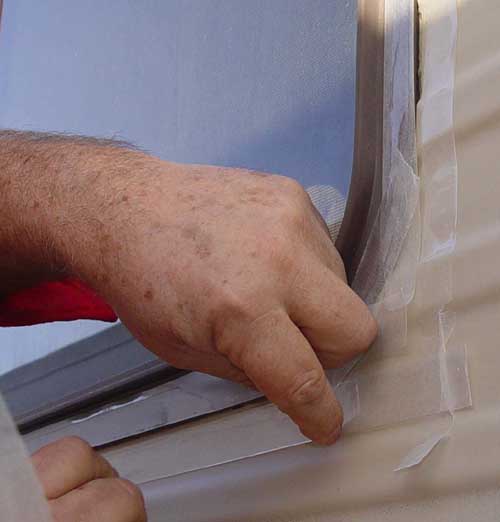

Use masking tape to mask off areas you do not want caulked. I put masking tape on the window frame letting it extend beyond the edges around the corners. I used a razor blade to trim the masking tape that extended beyond the frame edge. This made a neat rounded taped off edge on the window frame.

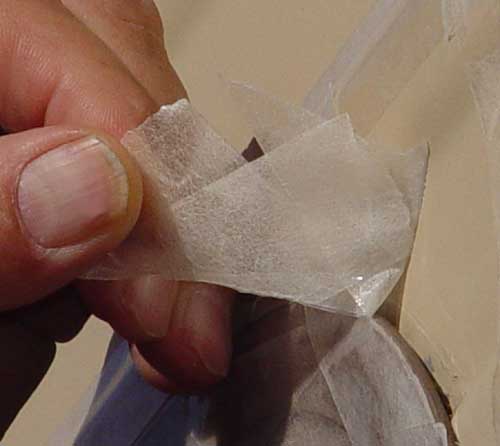
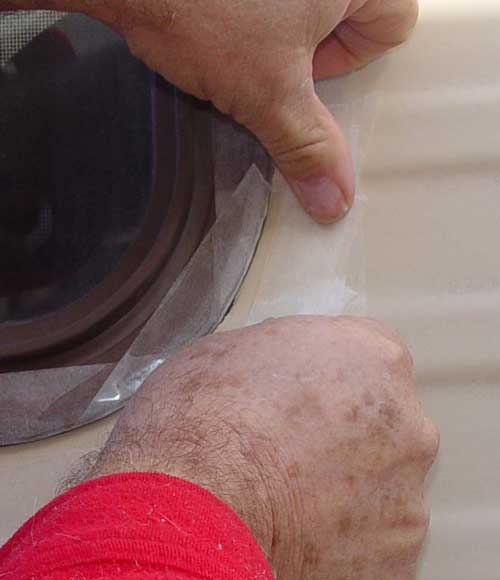
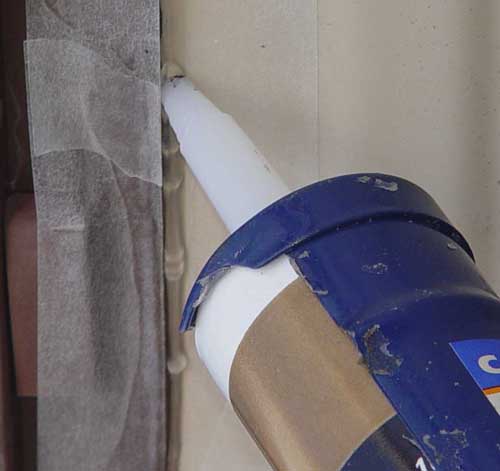
I ran tape on the motorhome all around the window about 1/8 of an inch away from the window frame. I wanted the caulking to go into any cracks between the window frame and the motorhome side. I also wanted the caulking to extend out onto the motorhome about 1/8 inch.
My local RV dealer said they used plain clear silicone seal when
they did leaky window repair. No one locally had the PROFLEX RV Flexible
Sealant that was recommenced in the forums at
RV.NET FORUMS . I had clear silicone on hand so that is what I used
for the 4 windows I did. We were in the middle of rain storms as I did this,
so it was more important to get the job done than to figure out where to
get the caulk that others recommended. I will use PROFLEX for the rest of
the windows. You can order it online here -- just click the picture: 
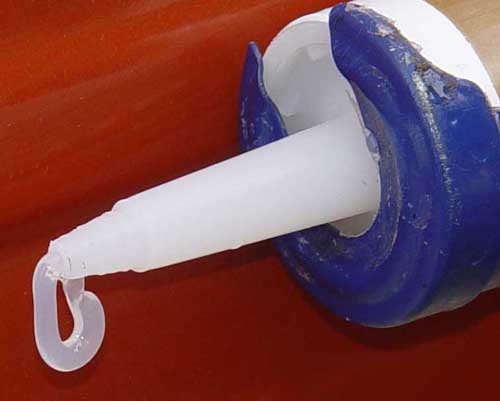
Before you begin caulking, you pull the cap off the tube of caulking. Next you cut the tip off. I cut mine tip at the mark closest to the tip end. This way I put down a smaller bead. Do not put the tube of caulking in the caulking gun and press the gun trigger like I did. NOTHING HAPPENED! I seldom use caulking and forgot you need to break in inner seal that keeps the caulking material fresh. I inserted a small screw driver down the hole I cut in the tip and punctured the aluminum cover a few times.
OOPS! More trouble. Because I already put pressure on the tube by pulling the trigger a few times, caulking came out the end when I pulled my screwdriver out. So, break the seal before you put the caulking tube in the caulking gun.
Breaking the inner seal and begin caulking

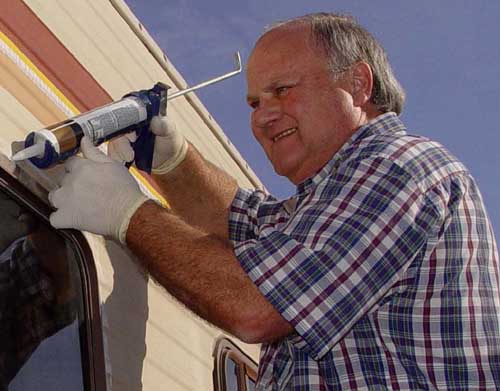
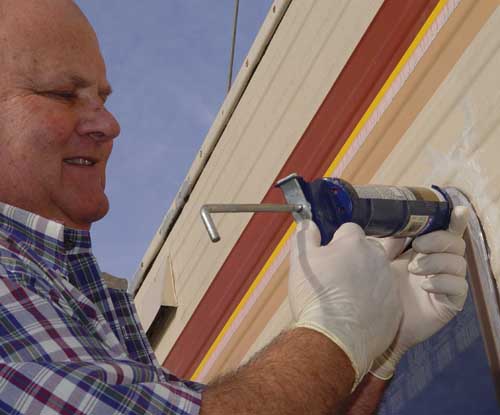
You own an RV. You probably have rubber gloves in the RV. I used rubber gloves to keep the caulk off of my hands. A lot easier in my opinion. Less sticky too. I used a paper towel to wipe excess caulk off of the gloves so I did not have to change them often.
I read that it was best to push the bead of caulk in front of the caulking gun. Maybe so if you do this all the time. I found it was easier for me to pull the bead along behind the tip. I would do only one side at a time. After I had the first bead run the length of a side, I would press the bead down into the space between the window frame and the motorhome. I mean I would use my gloved finger to try and force caulking down into an cracks and crevices between the window frame and the motorhome wall. This is where wearing rubber gloves comes in handy.
Try it both ways and see which works best for you. Pulling or pushing the caulking material.


My reasoning for pushing caulking down is that just a bead of caulk along the edge or pushed down only as you run the caulking gun along does not force the caulking material down into where it needs to be. Maybe the "pros" do not do this, but it makes sense to me.
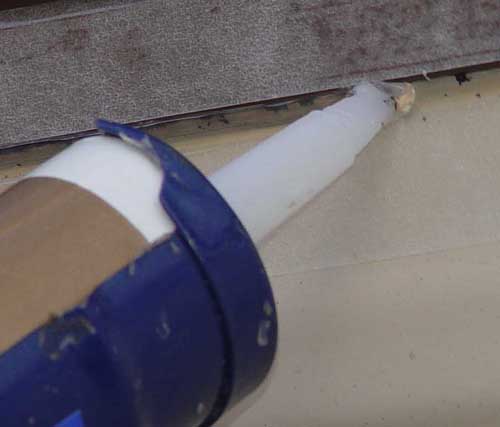
When you stop running a bead of caulking, release the pressure in the tube by pushing the lever on the back of the caulking gun. This stops more silicone from coming out the end of the tube,
This shows my thumb on the lever releasing pressure. If your do not the second picture is the result.
After I press the first bead down, I run my gloved finger along the caulking to smooth it. Next I run a second bead of caulking along the one window side. This time I only run my finger lightly along it to smooth and form it.
Once one side is done, I continue to the next side and so on until I have gone all around the window. Once the job is done, I let the caulking set for 24 hours before removing the masking tape. Before I removed the tape, I ran a razor blade along the edge of the tape closest to the window. I did not press hard, just hard enough to cut the excess caulking that was on the tape. This way when I pulled up the tape, it did not pull up any caulking with it.
The good news is that the continuing rain is not leaking into the motorhome. Our caulking job has eliminated our leaking RV window problem.
The bad news is that on two windows I used some "masking/art" tape. I have quite a few rolls of this tape and when I removed it, it left a sticky residue that I now have to clean off. The actual masking tape came off very easily from the other two windows.
For this job I was using a wooden ladder. Not really a practical thing to carry in an RV. Here are a couple nice folding or telescoping ladders that are light weight and do not take up a lot of storage space. The first ladder folds to a very compact size. Click either picture for pricing and details.

5'
Compact Folding Step Ladder

Aluminum Extension Ladder
